
Installation Guidance
Step 1: Preparation
The first task is always to mark out and measure your decking area. It may be worth using existing patios or concrete because they provide a firm foundation for your deck without requiring any additional work.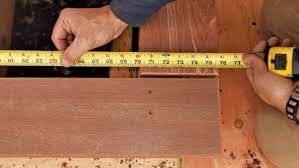
Step 2: Dig Out Your Area
If you plan to install your decking over existing lawn space then, as above mark out the area, and then dig to a depth of 50mm. Cover the ground with landscaping fabric to prevent grass and weeds coming through, and cover with gravel. If the ground is very soft then we recommend that you place paving stones on top of the gravel. The aim of this is to further support the joists and preserve the timber in the long run.
Step 3: Building a fixed deck adjacent to a property
If you are planning to build a fixed deck that is directly adjacent to a property then it is essential that a wall plate is inserted. (If your deck is free-standing move on to the section entitled “Assembling the Frame.”)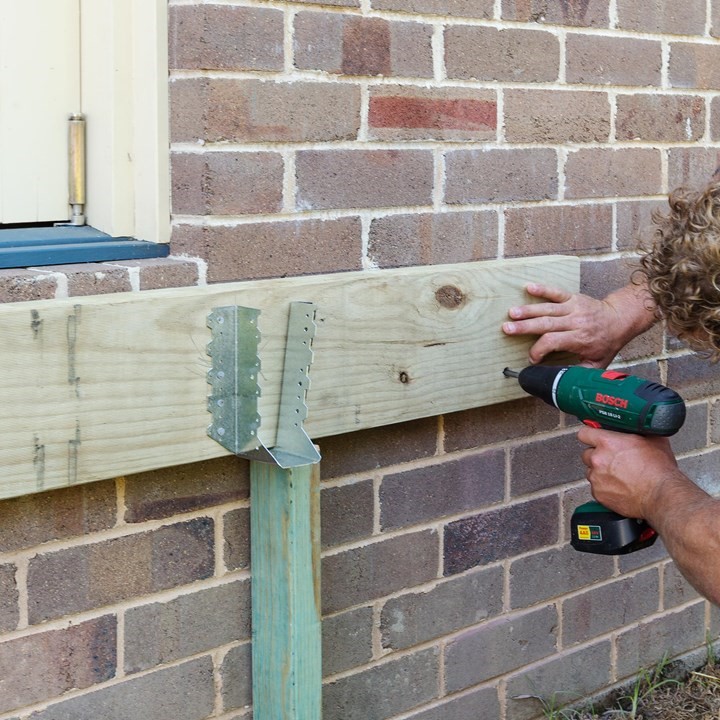
Step 4:
Mark out a vertical line at the end of where the wall panel is to be located. This marks the far corner of the decking.
Step 5:
If you intend to fit the decking under a windowsill or around a step you will need to ensure that the design fits. To do this take an offcut of deck board and mark a line underneath the board, thereby marking the lowest part of the sill.
Step 6:
From this line drop the board by a further 10mm, to allow room for expansion, and draw a level line. A spirit level may be required. This line will be used as a guideline for attaching the decking to the wall, so we recommend it runs the whole length of the decking board if possible.
Step 7:
Cut the decking joist to the required length with a saw. If you need to manoeuvre around obstacles, such as drainage pipes, measure and cut sufficient space accordingly.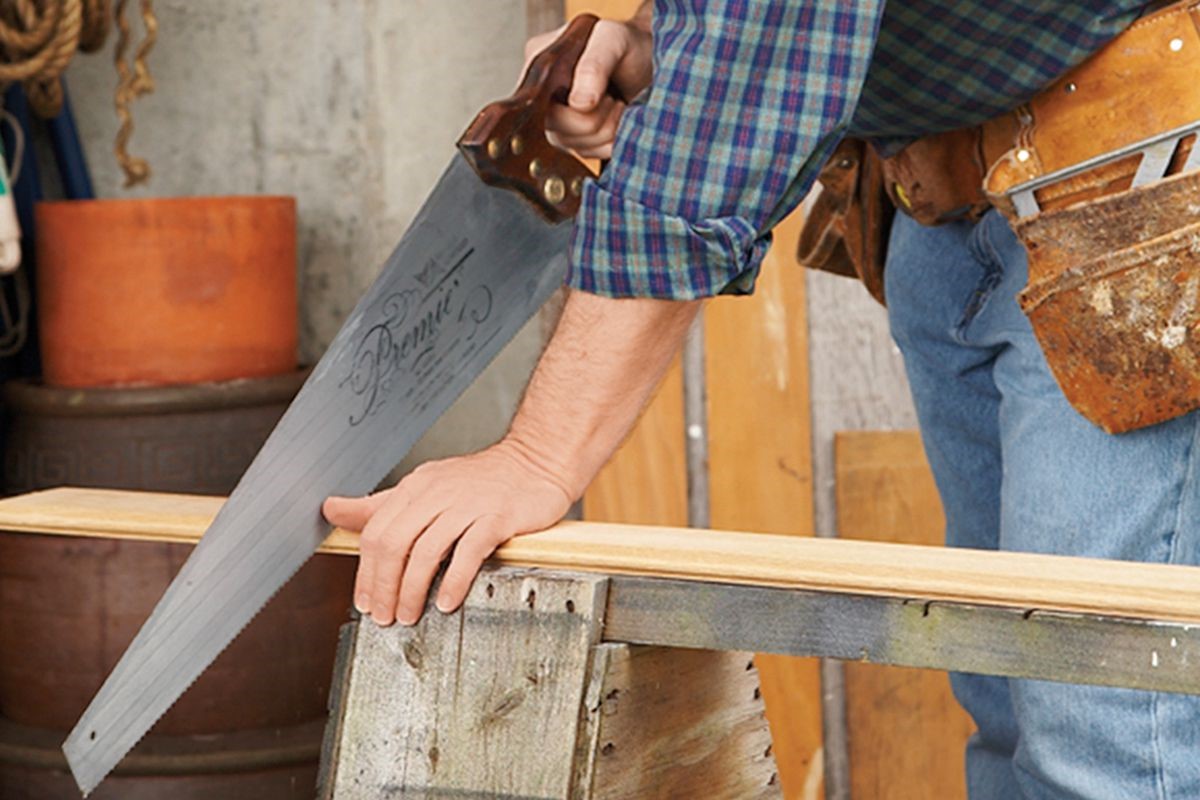
Step 8:
Measure 100m in from one end and mark the wood. Mark a vertical line down the wood down from your mark using a set square.
Step 9:
Measure 50mm down from the top of the line and 50mm up from the bottom. Mark the wood. This will assist you with positioning the pilot holes. Repeat the process at 600mm intervals down the length of the wall plate.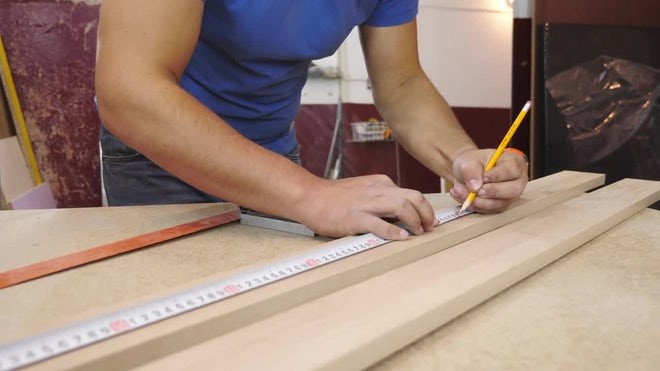
Step 10:
Once you get to the far end of the wood measure and mark out another 100mm section.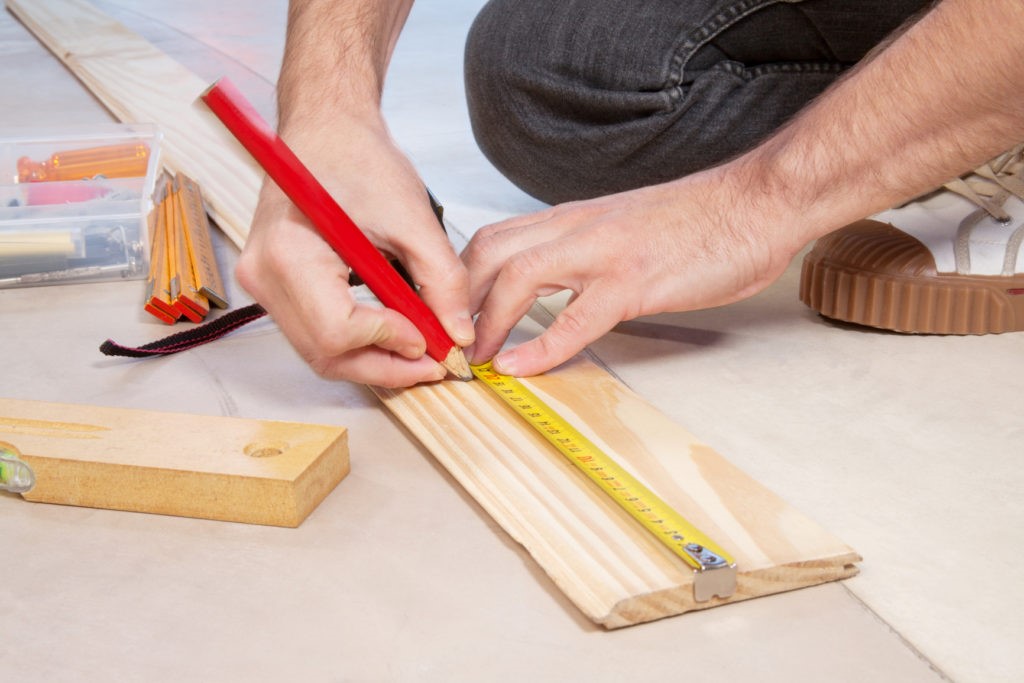
Step 11:
Use a 6mm drill bit and drill pilot holes. Please ensure that you are wearing safety goggles. Gloves are strongly recommended.
Step 12:
Carefully position the wall plate by placing it in line with your guideline. If needed use wooden packers to support the timber.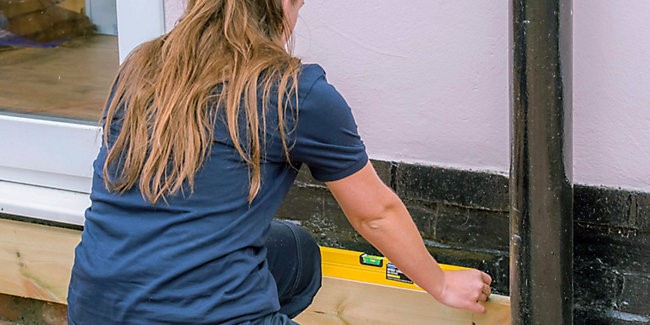
Step 13:
We recommend that before securing your wall panel fast to the wall you check that the board fits beneath the sill. Insert one of the boards under the sill on top of the wooden panel to ensure that there is sufficient space.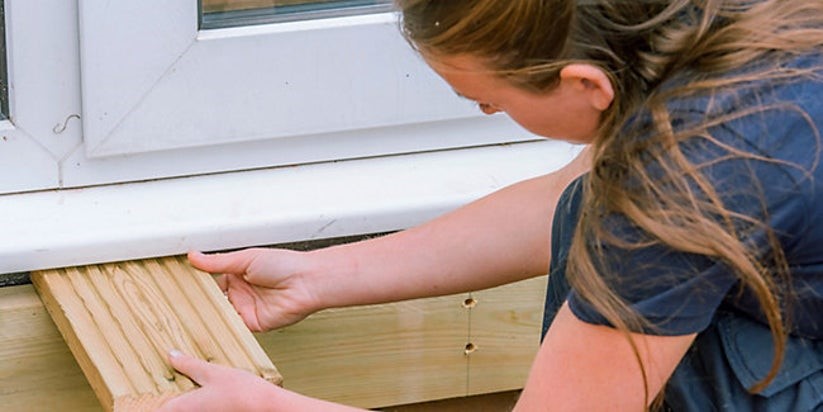
Step 14:
The next step is to drill guide holes into the wall. We recommend using a 7mm drill bit, and also that someone helps you by holding the timber firmly in place.
Step 15:
Remove the wall plate and drill directly into the masonry. Scrape out any loose chippings.
Step 16:
Use a hammer to secure raw plugs into position in the wall.
Step 17:
Insert screws through the holes in the wall plant and use washers, preferably galvanised, at the end. Ensure a gap of 10mm between the wall and wall plate.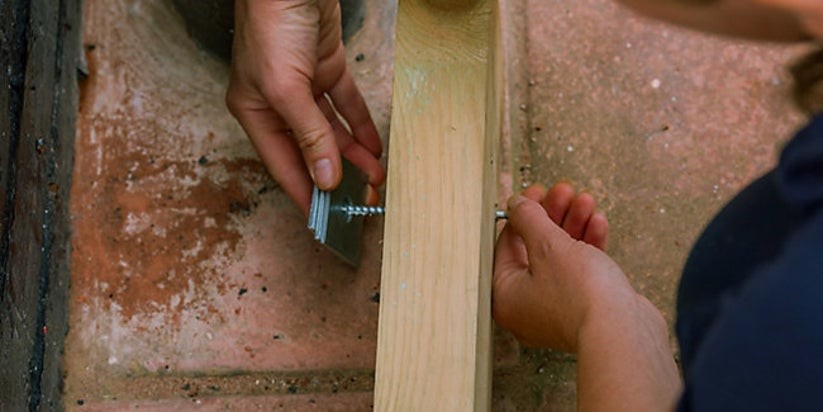
Step 18:
Tighten the screws into the raw plugs prior to using a drill and driver bit to secure them. If necessary repeat this step with the second plate.
Step 1: How to build a decking frame.
If it looks like your decking area is going to extend further than the decking joists provided you will need to join two sections together to create the decking frame. If you don’t need to join up your joists then go directly to step 6 (below).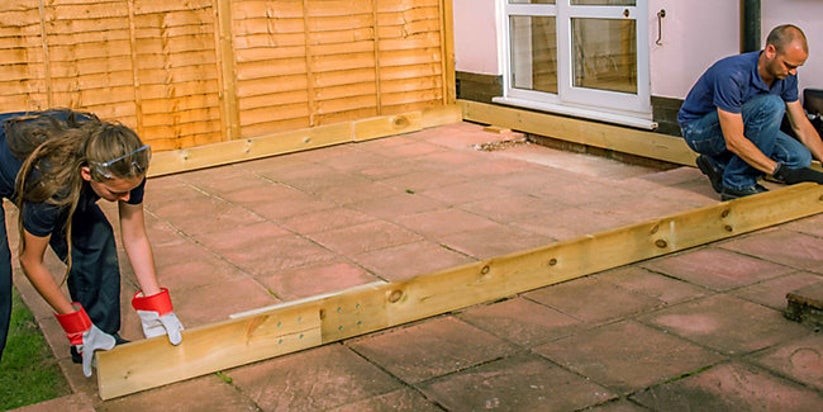
Step 2:
Join together your joists by cutting and measuring the section you need to achieve the length required.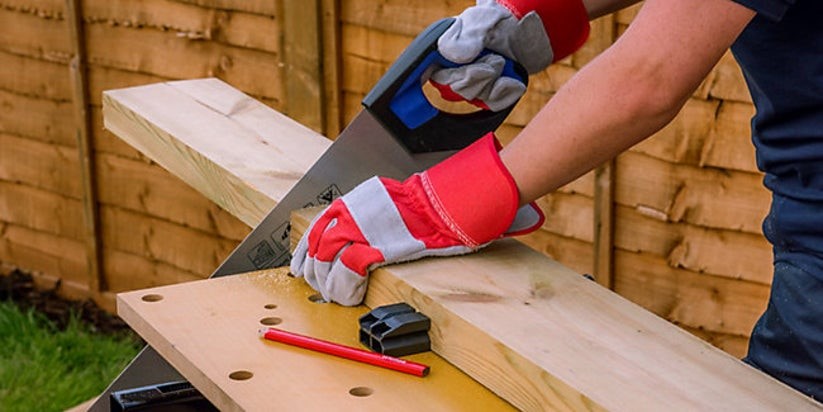
Step 3:
Cut and measure a separate section (length 600mm), then mark its centre point (300mm). Secure fast in a workbench and ensure that the 300mm lines up with the join of the joists.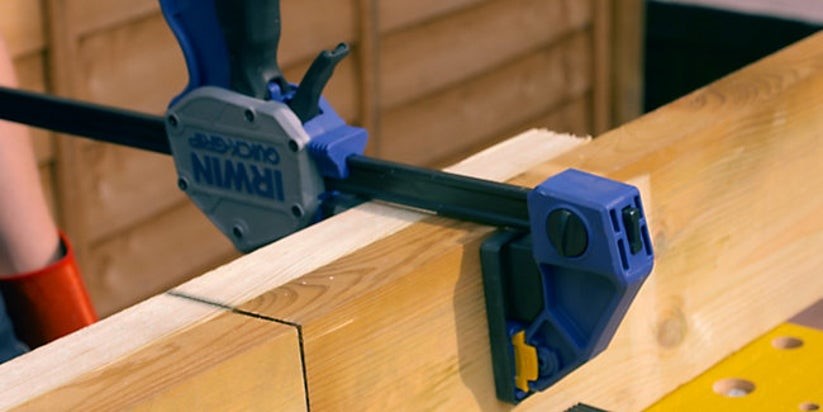
Step 4:
Measure 4 guidelines on the joists. Measure out and mark a spot 75mm either side of the join. Measure out and mark a spot 150mm from each side of the join. Mark a straight vertical line through each of the four marks using a set square.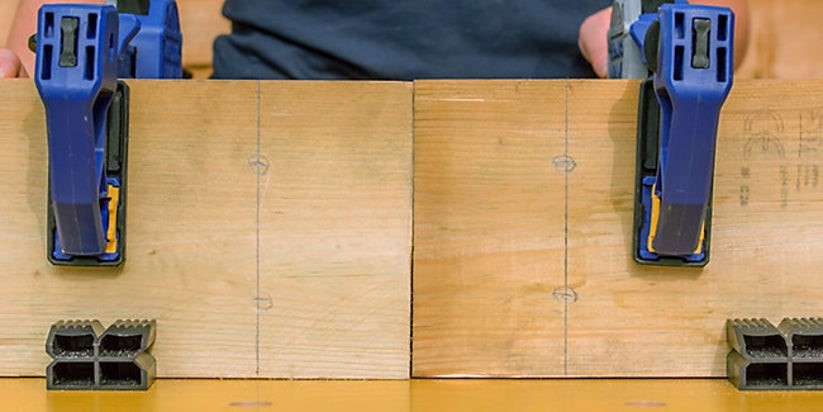
Step 5:
Mark two evenly spaced holes using the lines you have drawn. Drill pilot holes using a wood drill bit and secure joists together using 100mm screws. This joist can now be moved into position.
Step 6:
When you want to fix the decking frame you have to check that it is at the level you require. You can use available materials such as timber offcuts, paving slabs or bricks. Always use tools such as a spirit level and a set square to ensure that the decking frame is even. As above, use a spirit level to check that it’s at the right level.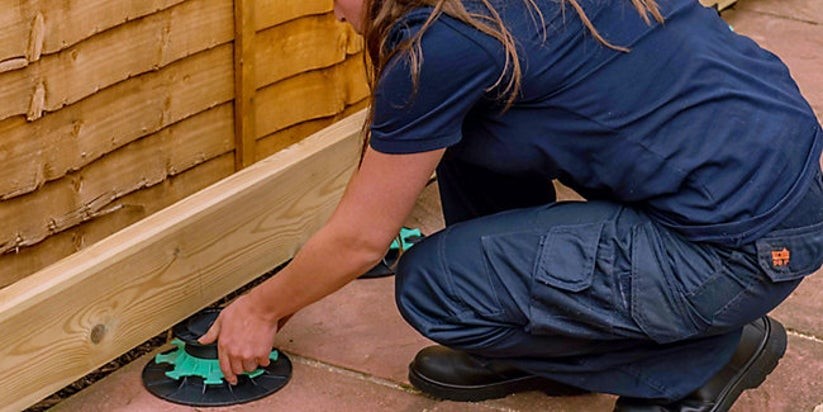
Step 7:
After this you are ready to join the frame together. Mark and drill out pilot holes before fixing two external grade 150mm timber drive screws into each corner.
Step 8:
Some of the external corners of the frame may be difficult to access, in this case secure the frame by drilling skewed pilot holes into the wood at a 45 degree angle and fix with 100mm screws. As above, ensure that the frame is level.
Step 1: Adding Internal Decking Joists
You will need to calculate how many internal decking joists you need and start by finding the centre spot for one of the external joists. Measure 400mm inwards from here and mark out. Repeat the process to space internal joists at intervals of 400mm.
Step 2:
It may be that you need to extend your internal joists. If this is the case follow the same method as for joining external joists. Use an additional 600mm block for sandwiching the joist in place. Offset pilot holes slightly so the screws don’t come into contact.
Step 3:
Make sure that the joist is secure in your workbench and attach a joist hanger to each end using 30mm exterior screws.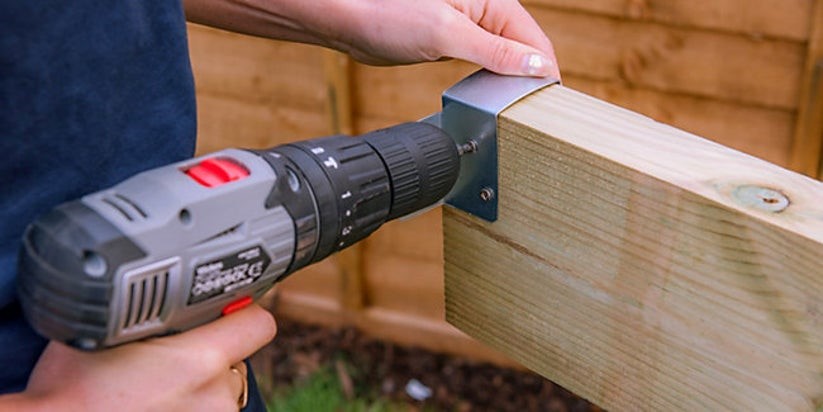
Step 4:
You will probably need some assistance securing the joist to the frame, so we recommend positioning it so that the centre of the joist lines up with the 400mm spacer mark. The joist end should be flush with the exterior frame.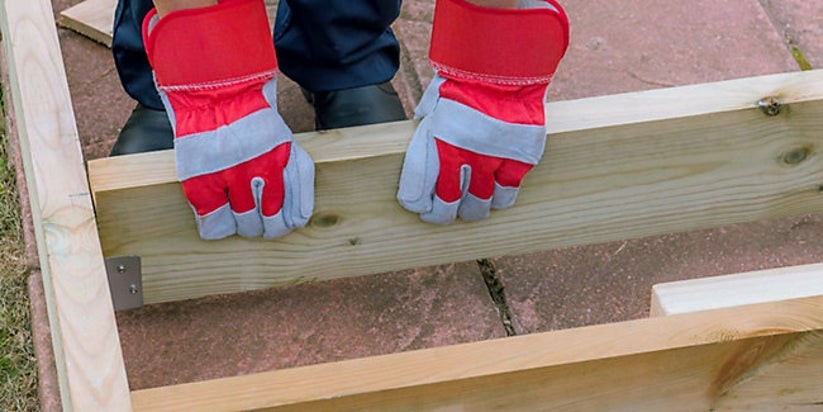
Step 5:
Using a set square place your 400mm marker onto the external face. Mark the position for the pilot holes.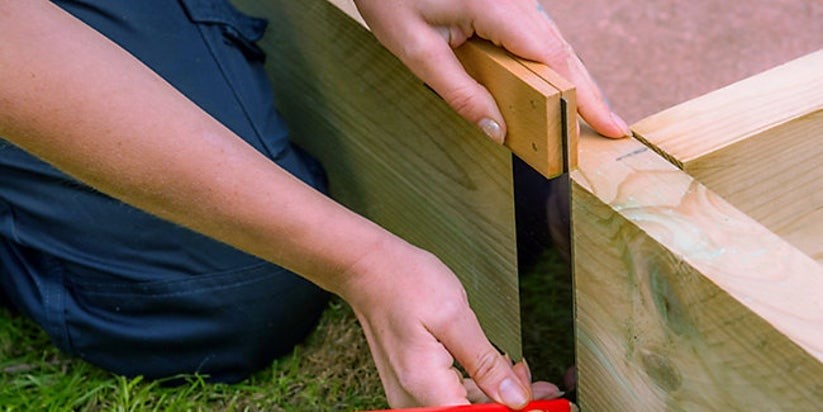
Step 6:
Mark out the position of the pilot holes.
Step 7:
If you have issues reaching some parts of the external frame drill skewed holes on each side prior to securing with screws.
Step 8:
Once joists have been secured you can secure them by using joist hangers and screws. They can be painted if you want to conceal them.
Step 1: Adding the Noggins
Measure out the joists lengthways to decide how many noggins you need. Ensure the distance is never more than 1200mm.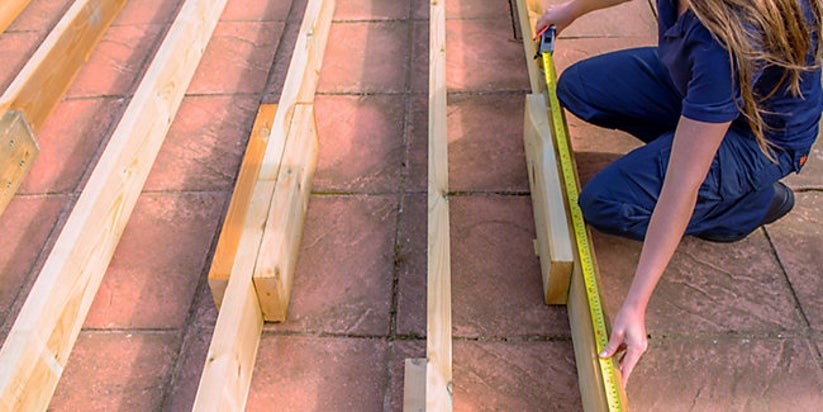
Step 2:
Place the noggin in position so that the top is level with the joist.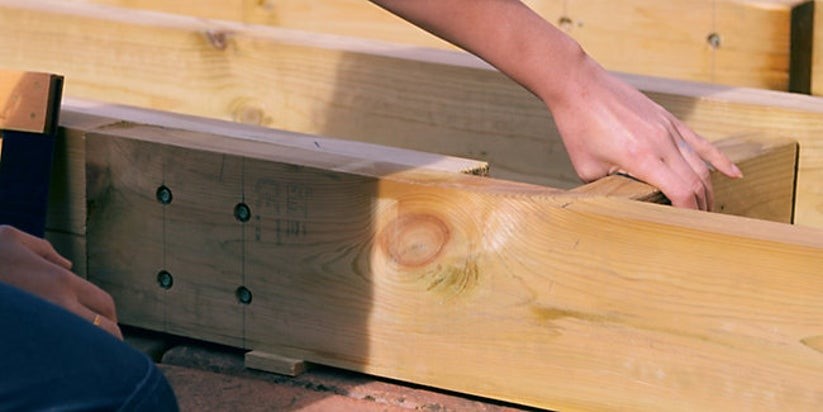
Step 3:
You need to identify the centre of the noggin’s position on each of the joists and, using a set square, draw a vertical line down the joist. Ideally this should be approximately 40mm from the top and bottom.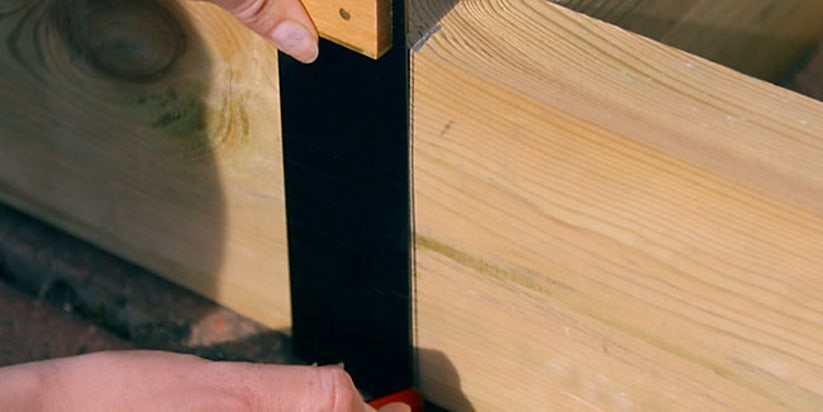
Step 4:
Prior to securing the noggin with external timber drive screws we recommend first drilling pilot holes. As usual, check that your frame is level.
Step 1: How to Lay Decking Board
Now it’s time to fit the deck boards. We recommend pre-drilling all holes with a 2mm bit to protect the timber from splitting later on.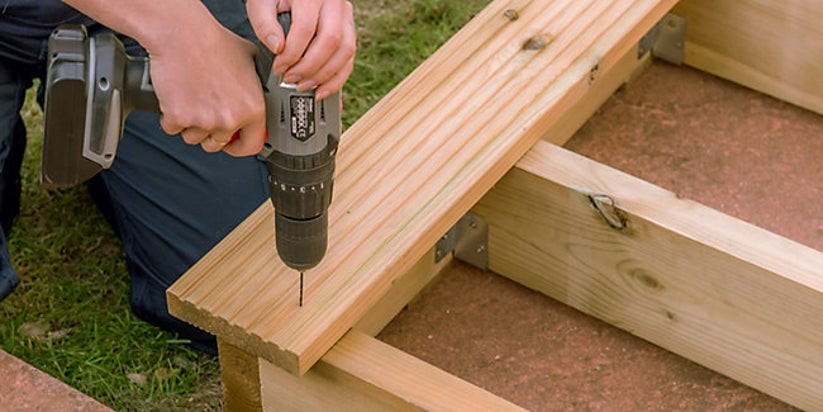
Step 2:
If you intend to add a fascia board then we recommend that your first deck board will need to overhang the edge. Check that the holes are in the correct position before securing the board.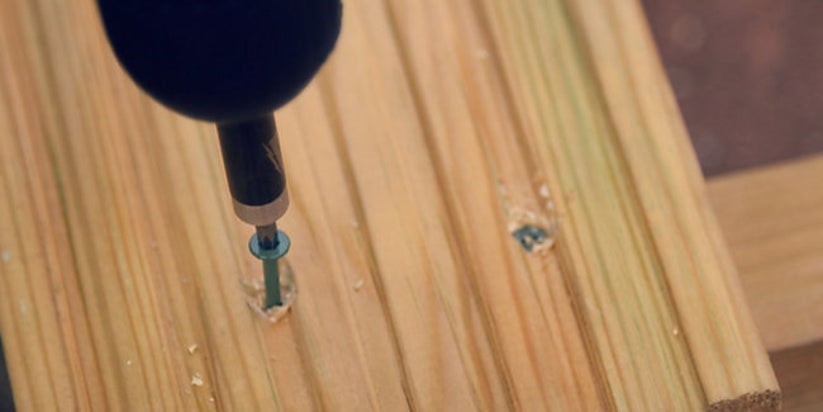
Step 3:
Start off by securing the decking boards into the frame to maintain that it’s fixed and straight. Start from one end, repeat at the other end and your way down to the end.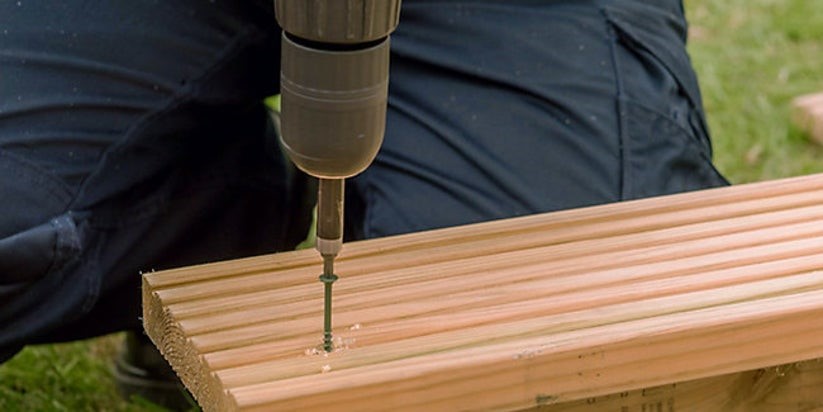
Step 4:
Don’t forget that a spacer is required between each decking gap. Use a thin wooden offcut or piece of cardboard to maintain the even gap. You can even purchase purpose-made spacer tools.
Step 5:
We recommend that when cutting a deck board, you use a template, mark the guideline out on the wood and use a jigsaw.
And you’re all done, congratulations on a fantastic job!!!
Maintenance Guidance
- If the spot you have chosen for your decking is shaded we highly recommend that the wood is cleaned and treated at least annually. Giving the decking a spring clean will help set your garden up for the year ahead.
- In our experience regular brushing of the decking will help remove any dirt or leaves and avoid the build-up of damp and mould on the decking surface. It also helps it to keep looking great.
- Regularly scrub the decking with a mixture of water and washing-up liquid to keep it looking clean and fresh. Pressure washing can achieve great results, but ensure that any furniture is moved out of the way to ensure it is not damaged.
- If you have mould we would recommend that you use a multi-purpose decking cleaner. Always follow the manufacturer’s instructions carefully.
- We highly recommend that you consider applying decking stain in order to provide additional protection for the years to come. These are available in a wide range of colours, so make sure you think carefully about the finish that you are trying to achieve before applying stain. Remember – in order to maximise the benefits of any stain applied your decking has to be completely clean prior to application. One tip is to try out sample pots of stain to best check if you have got the right colour.
- Avoid applying any stain or paint in hot, cold or wet weather or direct sunlight. Check the weather forecast first.
- Remember to get out into your garden as much as possible, and really enjoy your decking!!!
Looking after your Decking – Stain or Oil?
If you want to add extra protection to your decking to ensure longer life and more usage – i.e. to make the most of the money that you’ve paid for it – it is well worth considering applying decking oil or decking stain.
Decking oil – How to Guide
Decking oils are available in a range of natural wooden tones, as well as transparent, and they will emphasise the natural characteristics and look of the wood. These oils penetrate into the wood and offer protection from the inside out.
Oil is very durable and requires little maintenance, it has water-resistant properties and touch-up can be applied easily and simply. In general you will probably need much less oil than stain to cover your decking. Purpose-made oils can cover approximately 6-10 metres squared so it is highly likely that all that is required is just one tin. Calculate how much you need prior to application. Apply a second coat no sooner than 4 hours after the first coat has been applied. Decking oil helps to protect against the weather, and will withstand everything the elements has to throw at it. The benefit is that it will make your wood less likely to weather and discolour.
Please note that decking oil cannot be applied to surfaces that have previously been oiled, so any existing oil will have to be removed.
Decking oil is a great solution for softwood timber decking.
Decking stain – How to Guide
Decking stains are available in a range of colours. Prior to staining any decking it will have to be thoroughly cleaned. Once it has dried out you will have to remove any existing coats of decking stain.
- Get down to it. You can apply most decking stains available on the market with a paintbrush. This will mean that you have to get down on your hands and knees to make sure that the stain really gets into all the grooves of your softwood timber decking. Please ensure that you dedicate some time because it’s a labour-intensive task but will be rewarding.
- Get in on! You should shake your stain and stir thoroughly to provide an even colour throughout. Grab a wide size paintbrush and apply generously across the deck.
- Do it again! To give your decking the best chance of enjoying a longer life we highly recommend that you apply a second coat. Follow the instructions above and apply the stain using the same method as the first coat.
- Keep it clean. Once the decking oil has been applied be sure to keep your decking clean.